Finding Singer Sewing Machine Manuals for Old Machines
Locating manuals for vintage Singer sewing machines requires exploring various resources, as Singer took down their parts page.
Several online suppliers, vintage parts websites, and collector societies offer manuals to get you started.
Explore online libraries to find free downloadable manuals for many models.
Identifying Your Singer Sewing Machine Model
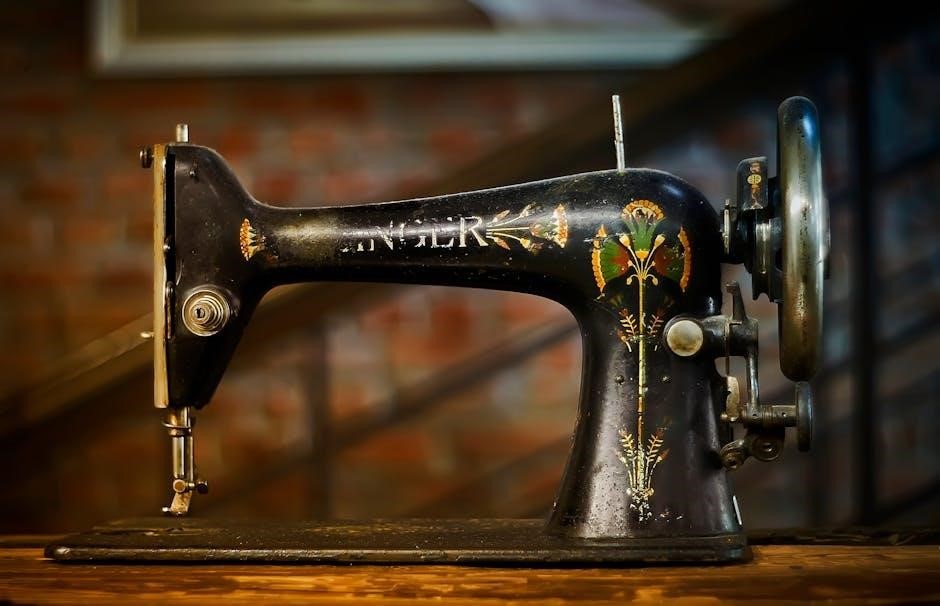
Before embarking on your manual search, pinpointing your Singer model is crucial.
Singer sewing machines have model numbers that are usually stamped on the machine’s body.
Look for a number on the front, side, or underside of the machine, it may be near the handwheel or bobbin area.
Note down any prefixes or suffixes.
Accurate identification streamlines the search.
The model number will help you find the correct manual online.
If the model number is illegible, compare your machine with images online.
Online Resources for Singer Manuals
Numerous online platforms host Singer sewing machine manuals.
These include Singer’s official website, vintage parts sites, and the International Sewing Machine Collectors’ Society.
Archive.org and other online libraries also provide downloadable manuals.
Singer’s Official Website and Manual Downloads
While Singer has taken down their parts page, it is still a potential starting point for finding manuals.
Check the Singer website to see if they offer any downloadable manuals for vintage machines.
They may have documentation for newer machines, which could offer insight into similar mechanisms found in older models.
Be sure to explore the support or customer service sections of the website.
It might give you a direction to finding vintage manuals.
Vintage Singer Parts Websites
Dedicated vintage Singer parts websites are excellent resources for manuals.
These sites often specialize in older machines and provide a wealth of information.
They might have original manuals for sale or offer high-quality reproductions.
Some websites may provide free downloads as a service to the vintage sewing community.
Check websites like vintagesingerparts.com, as they may have manuals available.
These sites are also helpful for finding replacement parts and other resources.
International Sewing Machine Collectors’ Society (ISMCS)
The International Sewing Machine Collectors’ Society (ISMCS) is a valuable resource.
This society has an online collection of vintage sewing machine manuals.
The ISMCS provides an online space for collectors to share information and resources.
Membership might grant access to a more extensive library of manuals.
Their website may contain links to other helpful resources.
The ISMCS is dedicated to preserving the history of sewing machines.
Check their website for information on membership and available resources.
Archive.org and Other Online Libraries
Archive.org is a great resource for locating vintage sewing machine manuals.
The Wayback Machine can be used to search for manuals.
Archive.org has collections of sewing machine manuals available for download.
Many manuals are scanned and available in PDF format.
These libraries also contain manuals for various sewing machine brands.
Searching for a specific model number will help you find the correct manual.
You might also find manuals for attachments and accessories.
Check the language and condition of the manual before downloading.
Free vs. Paid Manuals
Many free Singer sewing machine manuals are downloadable online, especially for older models.
Paid manuals may offer better quality scans or cover niche models.
Consider your needs when choosing between free and paid.
Availability of Free Manuals Online
Numerous websites offer free downloadable Singer sewing machine manuals, catering to vintage and antique models.
Resources such as Archive.org and various sewing machine enthusiast sites host collections of scanned manuals in PDF format.
These free manuals often cover popular models like the Featherweight, 66K, 99K, and 201K series, among others.
Be aware that the quality of free manuals can vary, with some being clearer and more complete than others.
Before downloading, check preview images and user feedback to ensure the manual meets your needs.
Reasons to Consider Purchasing a Manual
While many free Singer sewing machine manuals are available online, purchasing a manual may offer advantages.
Purchased manuals, often reproductions or originals, are typically of higher quality, with clearer images and more detailed instructions.
They may also include additional information not found in free versions, such as service and repair advice.
Investing in a physical manual can provide a tangible, durable reference for your vintage machine.
If you are searching for a manual for a rare Singer model, a paid option might be the only available solution.
Types of Manuals Available
Singer sewing machine manuals come in various types, including instruction manuals for basic operation.
Furthermore, service and repair manuals offer in-depth technical guidance.
Lastly, parts manuals help identify and source replacement components.
Instruction Manuals
Instruction manuals are the most common type, guiding users on threading, basic operation, and settings.
These manuals are essential for understanding the machine’s features and capabilities.
Many online resources offer downloadable instruction manuals for various Singer models.
Several manuals for different models are available on eBay, vintagesingerparts.com, and International Sewing Machine Collectors’ Society.
These manuals will provide the necessary information to operate the machine successfully.
They also often contain basic troubleshooting tips.
These valuable resources help users get the most out of their vintage machines.
Service and Repair Manuals
Service and repair manuals offer detailed technical information for maintaining and fixing Singer sewing machines.
These manuals are more advanced than instruction manuals, targeting technicians and experienced users.
They include diagrams, troubleshooting guides, and step-by-step repair procedures.
Resources like vintagesingerparts.com and the ISMCS may have service manuals available.
These manuals are invaluable for tackling complex repairs or overhauling a vintage machine.
They provide in-depth knowledge of the machine’s inner workings.
Service manuals ensure the machine operates smoothly and efficiently.
These resources are essential for serious collectors and restorers.
Parts Manuals
Parts manuals are crucial for identifying and ordering replacement parts for your Singer sewing machine.
These manuals provide exploded diagrams and detailed lists of every component.
They often include part numbers, aiding in accurate ordering from suppliers.
Vintage Singer parts websites and online databases may feature parts manuals.
Some manuals combine parts information with service instructions.
Identifying the correct part is essential for successful repairs.
Parts manuals are invaluable for maintaining and restoring vintage machines.
They help to ensure that the correct parts are used to keep machines running smoothly.
Understanding Manual Contents
Singer sewing machine manuals offer valuable information, including threading, operation, and troubleshooting.
They provide guidance for settings and basic machine use.
Understanding the manual improves machine maintenance and extends its lifespan.
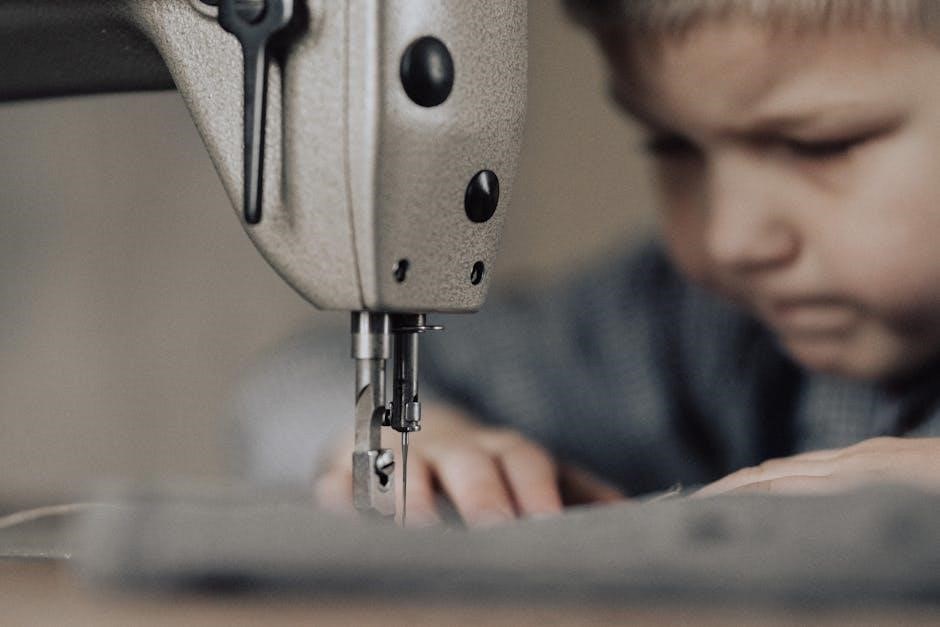
Threading Instructions
A crucial section within Singer sewing machine manuals, especially for older models, focuses on threading.
These instructions typically offer detailed diagrams and step-by-step guidance on properly threading the upper thread and winding the bobbin.
Correct threading is essential for achieving balanced stitches and preventing common issues such as thread breakage or skipped stitches.
Vintage Singer machines often have unique threading paths compared to modern machines, making the manual indispensable.
Following these instructions ensures smooth and reliable operation for vintage Singer sewing machines.
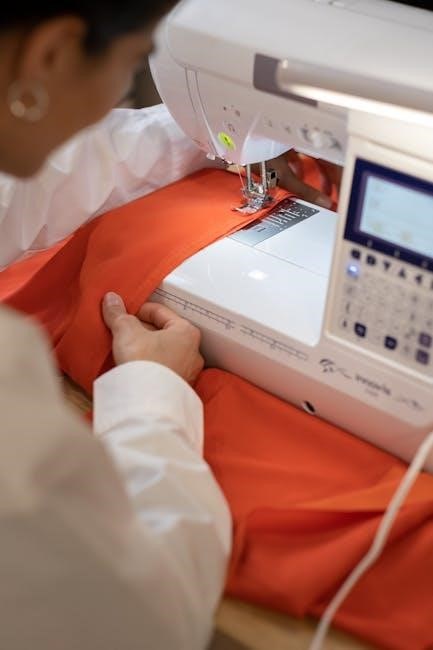
Basic Operation and Settings
Vintage Singer sewing machine manuals provide essential guidance on basic operations and settings.
These instructions cover fundamental tasks such as starting and stopping the machine, adjusting stitch length and width, and selecting different stitch patterns if available.
Understanding these basic operations is crucial for users to master the machine’s functionality.
The manual typically outlines the purpose and effect of each control knob or lever, allowing users to customize their sewing experience.
Mastering basic operations ensures that users are able to sew using vintage Singer sewing machines.
Troubleshooting Tips
Singer sewing machine manuals offer valuable troubleshooting tips for addressing common issues.
These sections guide users in resolving problems such as thread breakage, skipped stitches, and fabric bunching.
Manuals may include detailed diagrams and step-by-step instructions for diagnosing and resolving mechanical malfunctions.
Troubleshooting tips empower owners to resolve minor issues themselves, reducing the need for professional repairs.
The manual provides an understanding of the machine’s inner workings and enables effective troubleshooting.
These tips can save time and money, while helping to keep vintage machines in good working order.
Using a Manual for a Different Model
While not ideal, a manual for a similar Singer model can sometimes be adapted.
Consider the similarities and differences carefully, and proceed with caution when applying instructions.
Adapt instructions for your specific machine.
Similarities and Differences Between Models
When considering using a manual from a different Singer sewing machine model, it’s crucial to recognize both the similarities and differences. Many Singer machines share fundamental operating principles, especially within the same series or era. Threading paths, bobbin winding, and stitch selection might be remarkably alike. However, subtle variations in specific components, adjustment settings, or attachment compatibility can lead to issues if not carefully considered. Always compare diagrams and parts lists to identify potential discrepancies before attempting any adjustments or repairs.
Adapting Instructions for Your Specific Machine
Adapting instructions from a similar Singer sewing machine manual requires careful consideration and a methodical approach. Begin by identifying the core functions common to both models. Focus on threading, bobbin loading, and basic stitch formation. When encountering differences, consult online forums or collector groups for specific guidance. Always test adjustments on scrap fabric before applying them to your project. Be prepared to troubleshoot and document any deviations from the manual’s instructions to create a tailored guide for your unique machine.
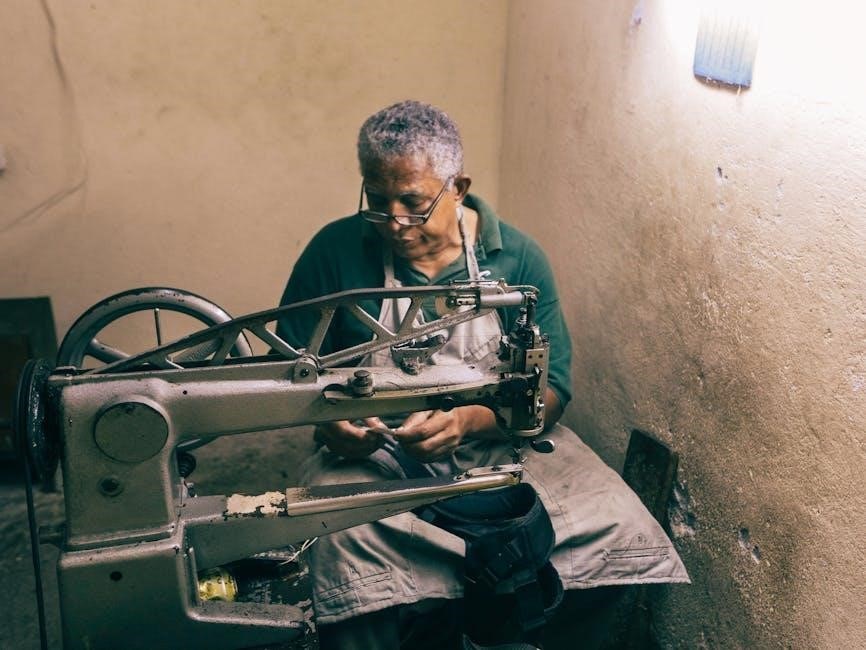
Maintaining Your Vintage Singer Machine
Maintaining your vintage Singer involves regular oiling, cleaning, and occasional part replacement. Manuals provide essential guidance.
Refer to the manual for specific instructions to ensure longevity and optimal performance.
Oiling and Cleaning
Regular oiling and cleaning are crucial for maintaining a vintage Singer sewing machine. Manuals often provide diagrams indicating precise oiling points, ensuring smooth operation. Use sewing machine oil only.
Cleaning removes lint and debris, preventing malfunctions. Consult your manual for the recommended cleaning schedule and appropriate cleaning tools. A clean machine sews better and lasts longer.
Proper maintenance, as detailed in your manual, keeps your Singer humming.
Replacing Parts
Vintage Singer sewing machine manuals often include parts lists and diagrams, essential for identifying and ordering replacement parts. If Singer took down the parts page, use vintage singer parts websites.
Knowing the part number from your manual simplifies the search process. Be aware that some parts may no longer be available as new, requiring you to seek out used or reproduction parts.
Consult a qualified technician if you are unsure about replacing parts.
General Maintenance Tips from Manuals
Singer sewing machine manuals provide invaluable maintenance tips specific to each machine model. Regular cleaning, oiling all moving parts, and keeping the machine free of lint are emphasized.
The manuals detail the correct type of oil and frequency of application for optimal performance. They often include advice on needle selection and thread types suited for various fabrics.
Following these maintenance tips extends the life of your vintage machine and ensures smooth operation.